
Free bowling lane diagram PDF with editable title
Open in any PDF viewer, type a title at the top-left, and print. One page, six lanes.
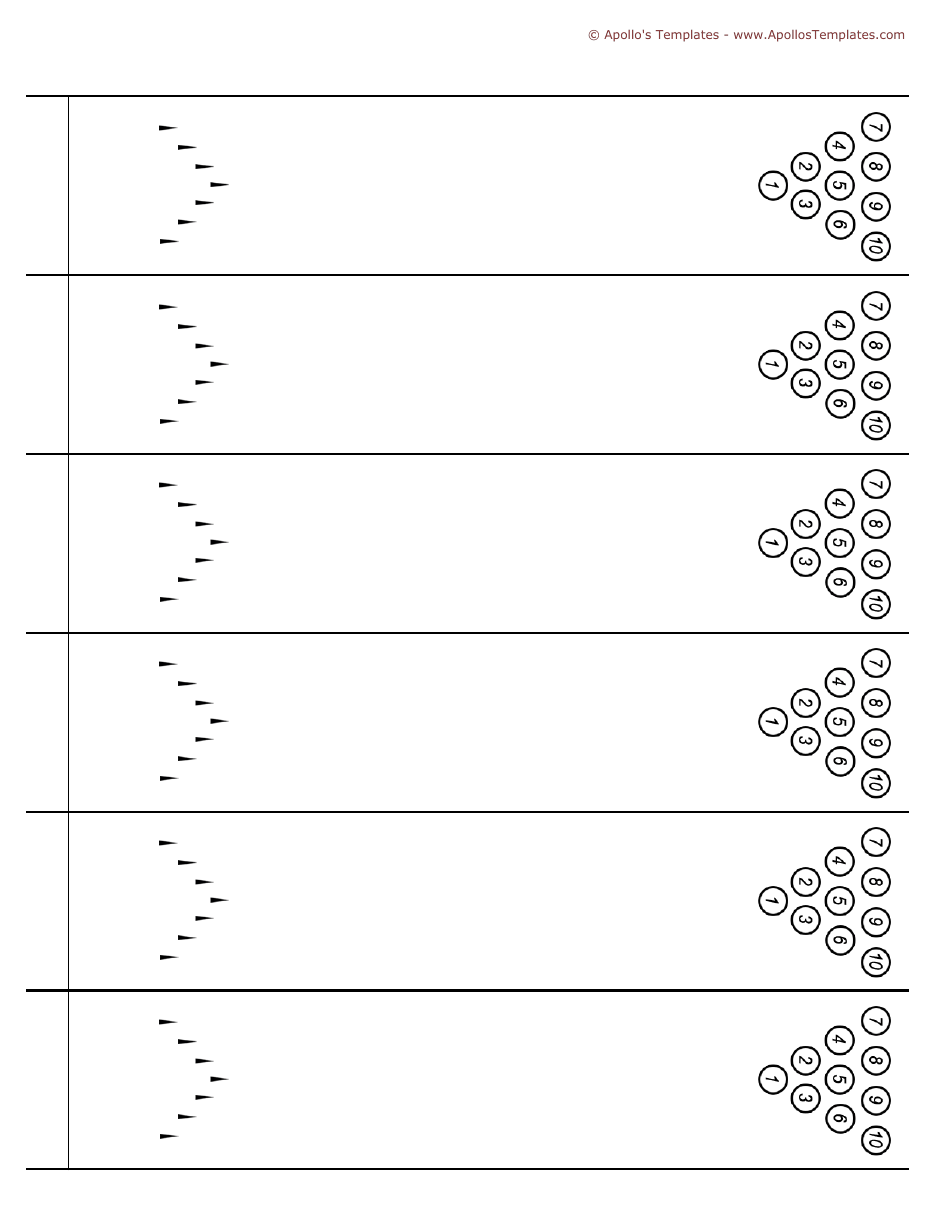
What the lane diagram sheet looks like
The full page as it prints: six lanes, each with the foul line on the left, the targeting arrows and the numbered pin triangle on the right.
Lane and pin diagram, 6 lanes per page
How to use the bowling lane diagram
Mark the leave. After a first ball, cross out the pins that fell on the triangle and circle what is still standing. Over a session the same leaves keep showing up, and that pattern is the diagnosis: a 10-pin left over and over means the ball is hitting high; a washout means it came in light.
Draw the line. Use the arrows to sketch the target board and the break point, then draw the path to the pocket. Coaches use one lane per adjustment so the sheet reads like a before-and-after.
Run spare drills. Write the spare you are shooting (7-pin, 10-pin, bucket, baby split) above a lane, draw the angle, and tally makes and misses in the margin. Six lanes cover a six-spare practice set on one page.
For a diagram inside every scored frame, the score sheet with pins puts a mini pin triangle in each of the ten frames.
Bowling pin numbering and lane dimensions
Pin numbers, front to back
Head pin 1; second row 2 and 3; third row 4, 5 and 6; back row 7, 8, 9 and 10, always left to right from the bowler’s view. The triangle is equilateral with 12 inches between pin centers, so the 7 and 10 pins sit 36 inches apart at the back corners.
Regulation lane dimensions
- 60 feet from the foul line to the center of the head pin
- 41.5 inches wide, 39 boards, with gutters on either side
- Approach of at least 15 feet behind the foul line
- Targeting arrows about 15 feet past the foul line
- Pins 15 inches tall, 12 inches apart center to center
Specifications follow the USBC equipment standards published at bowl.com / rules.