
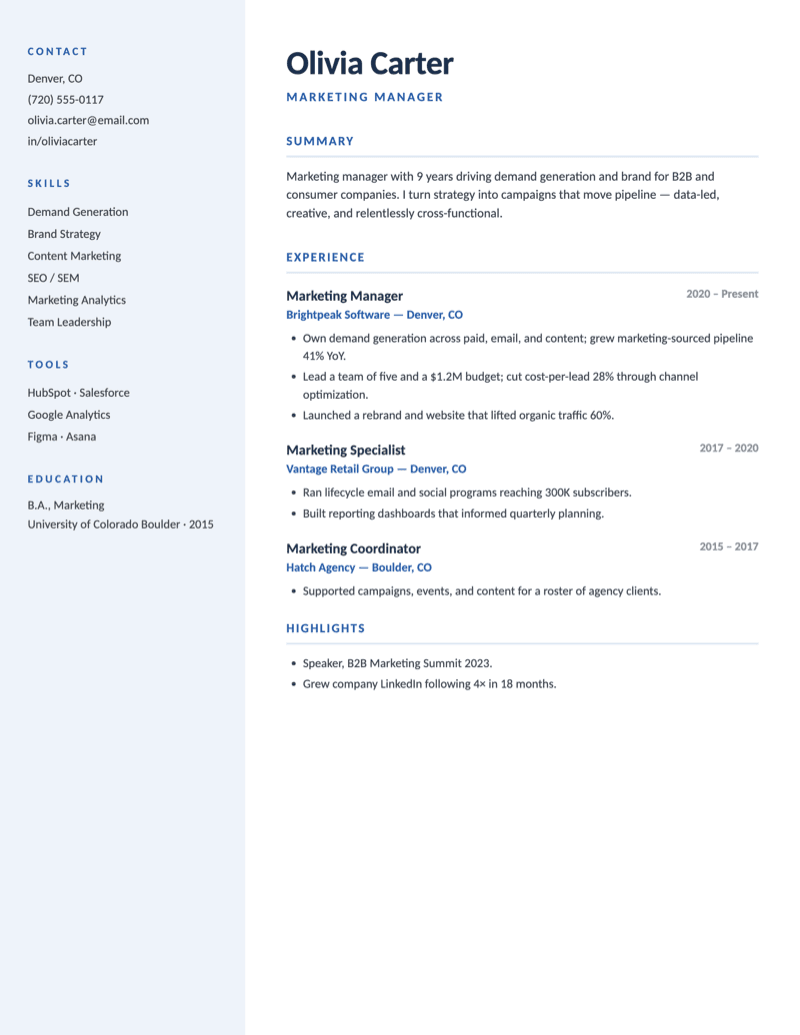
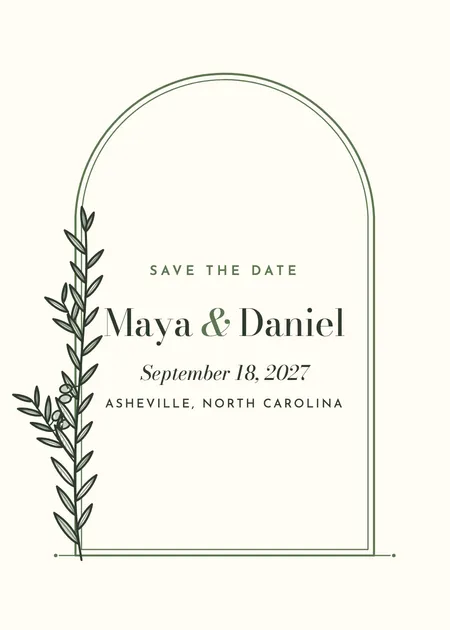
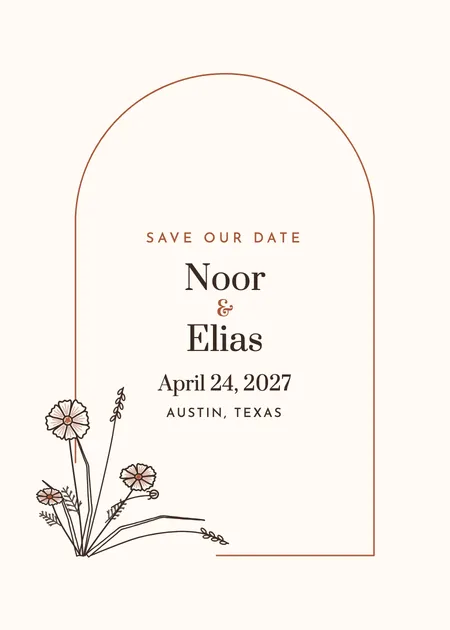
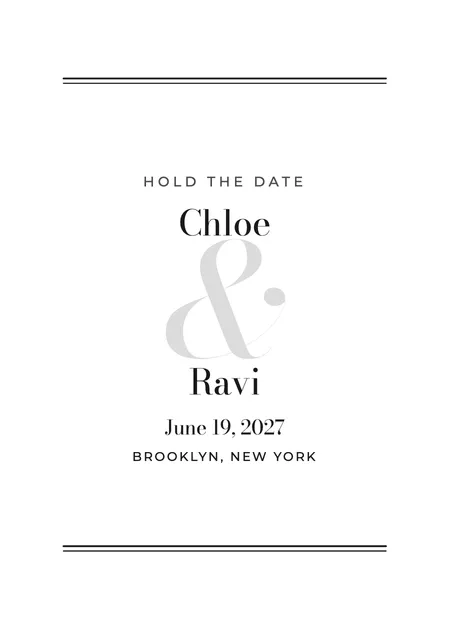
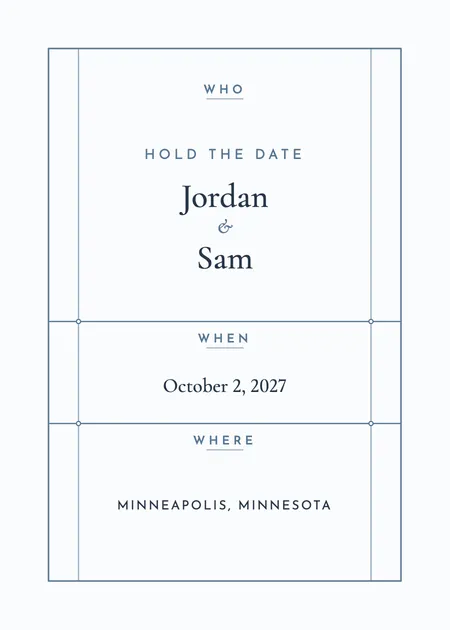
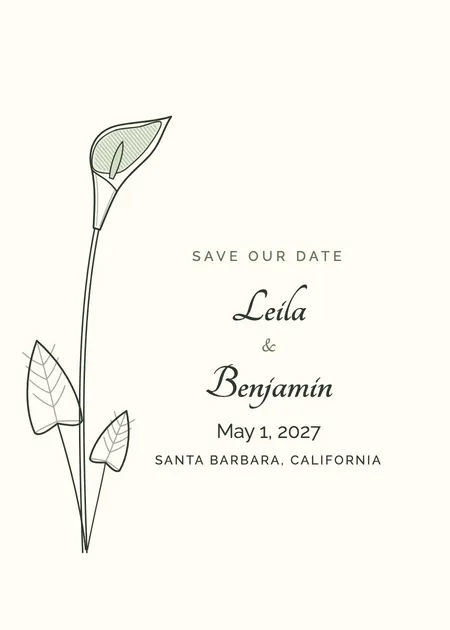
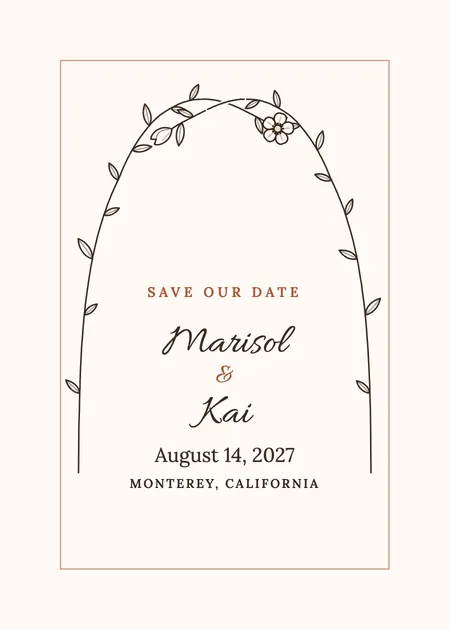
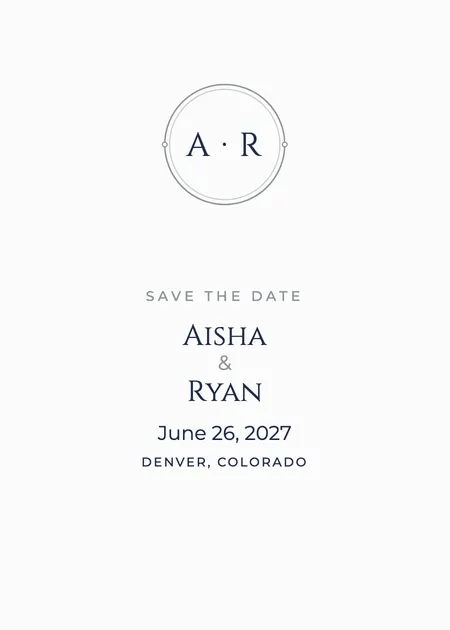
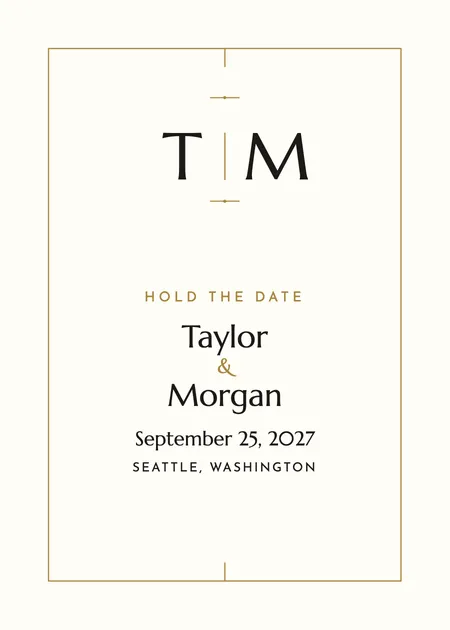
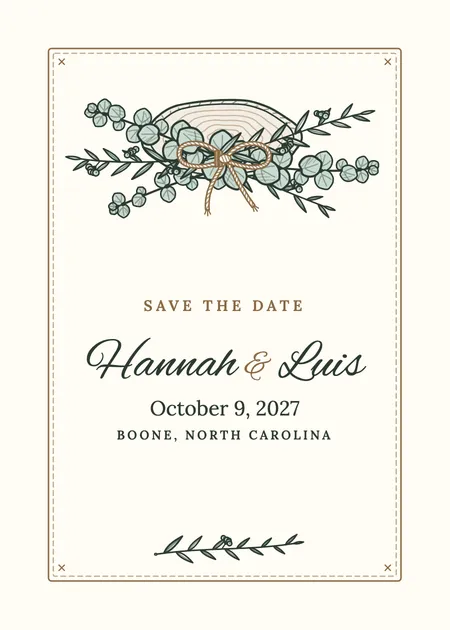
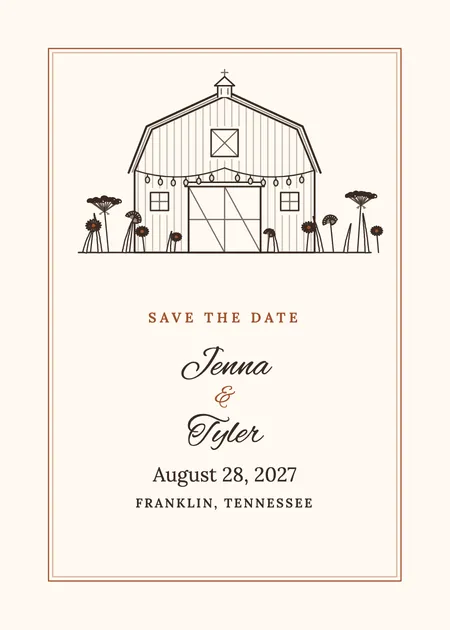
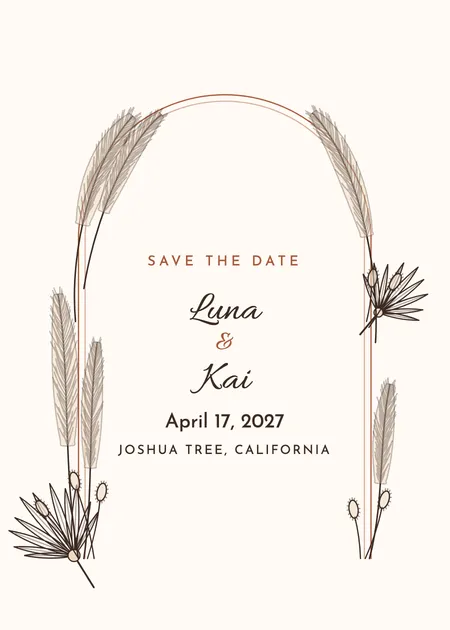
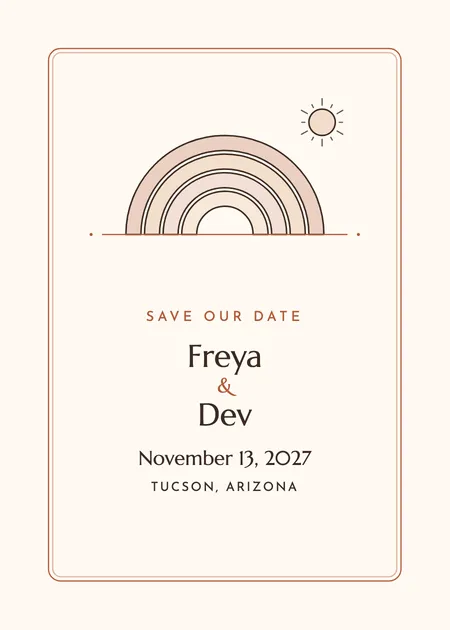
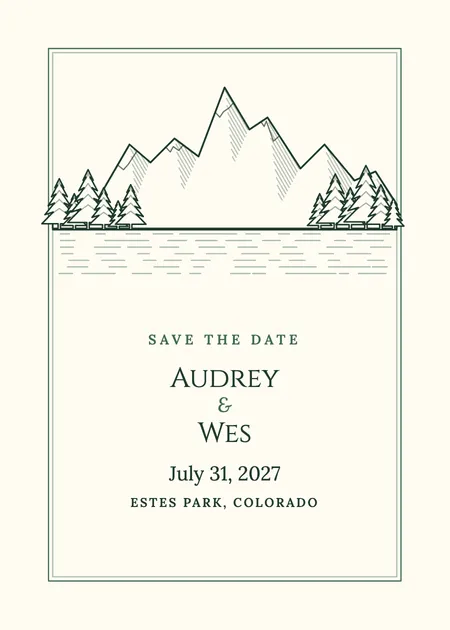
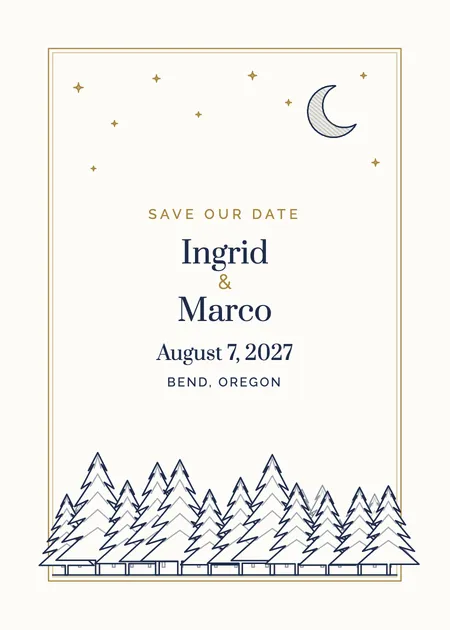
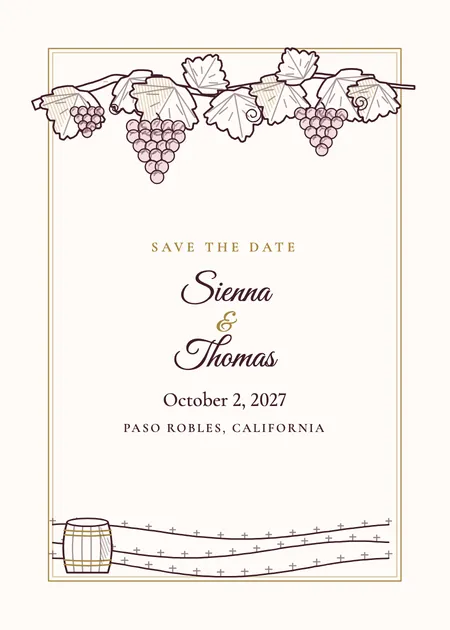
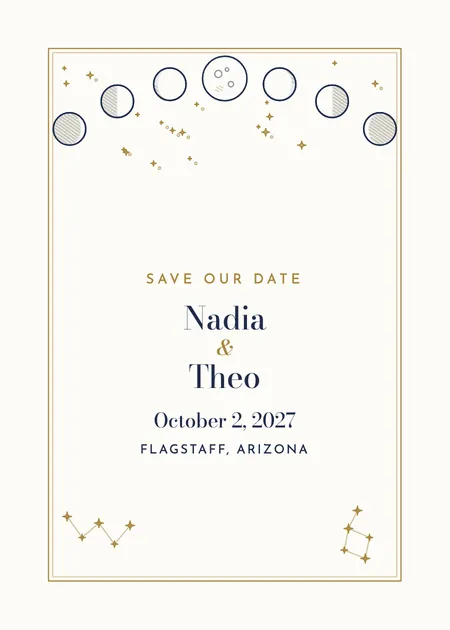
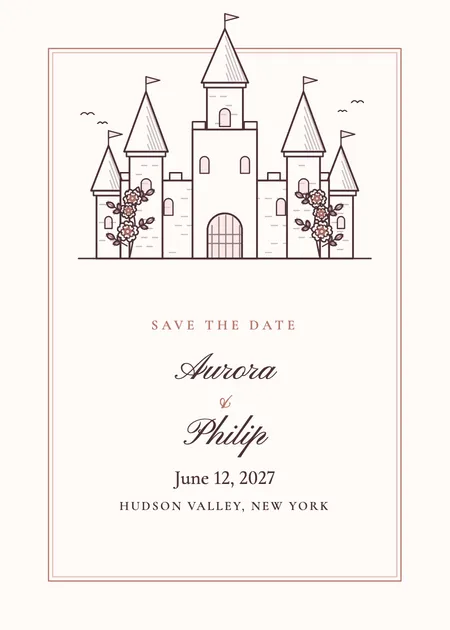
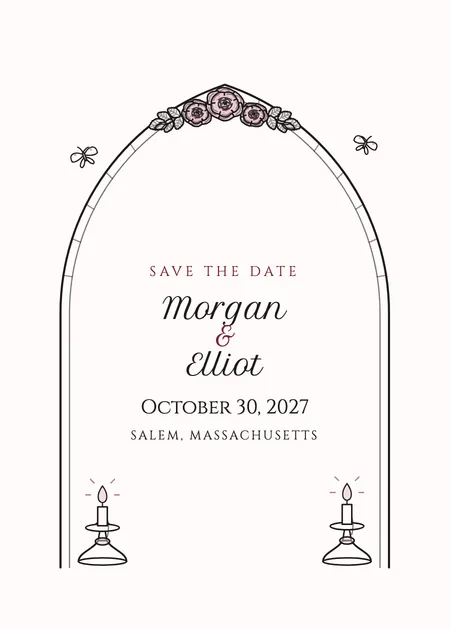
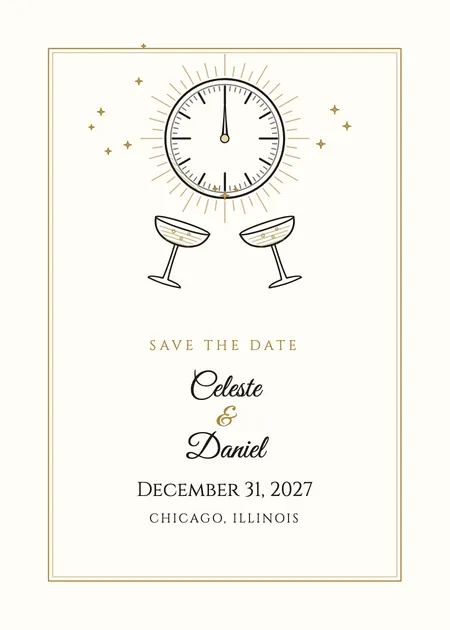
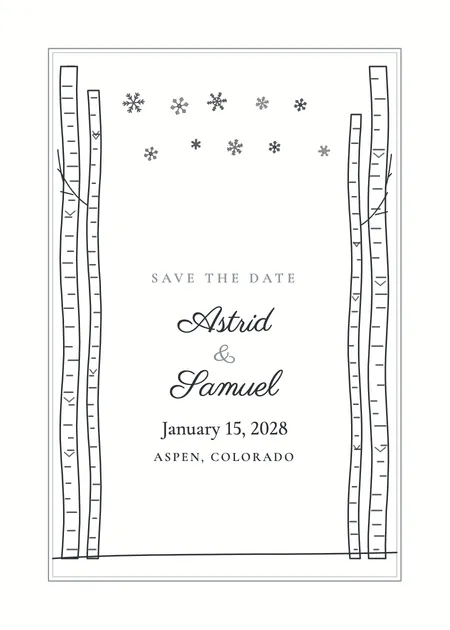
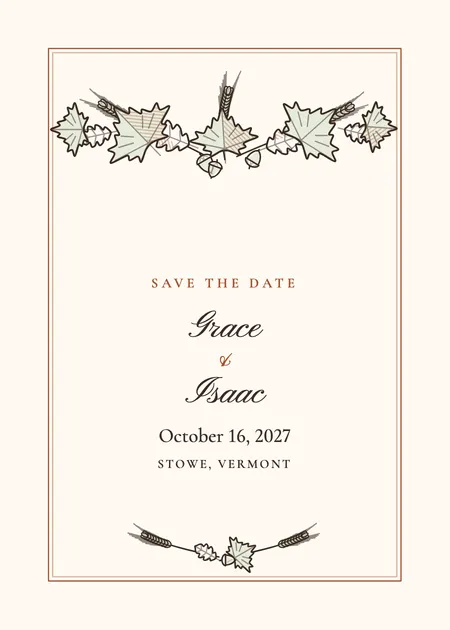
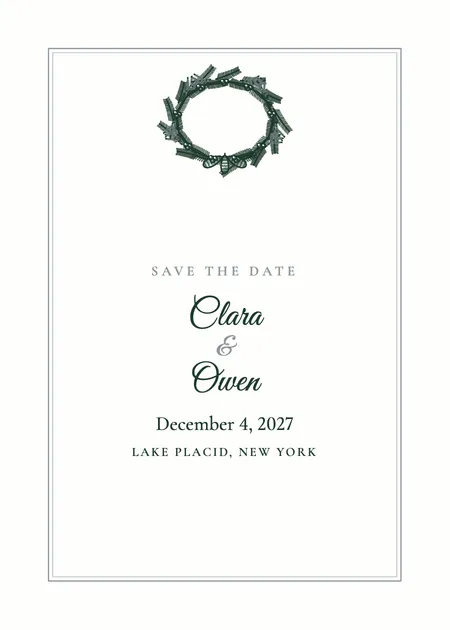
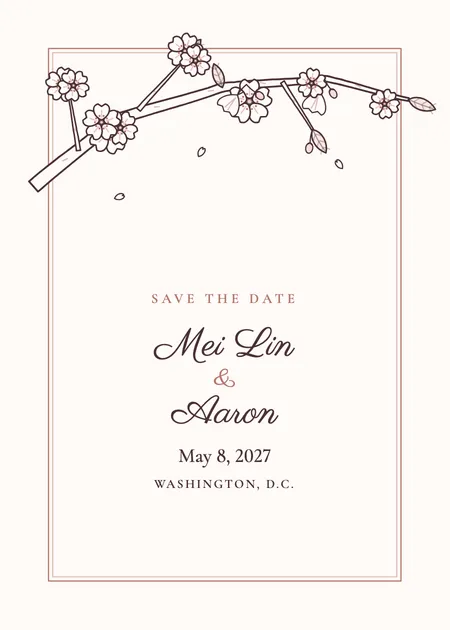
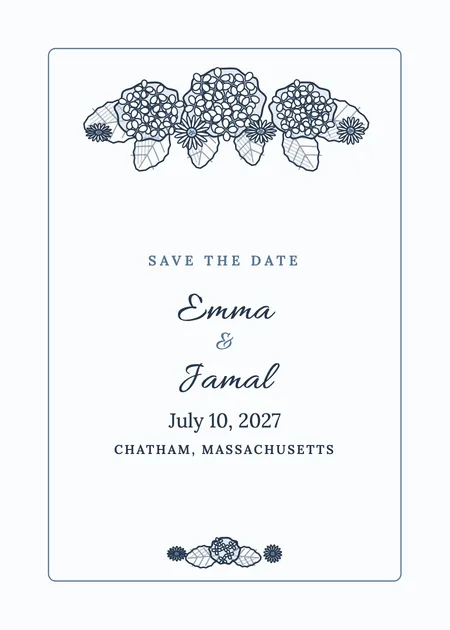
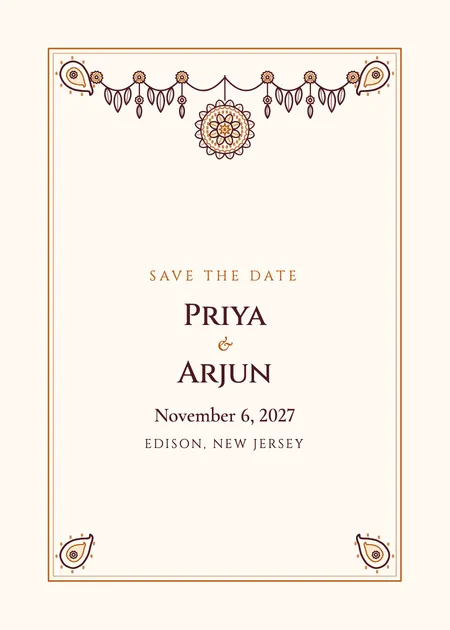
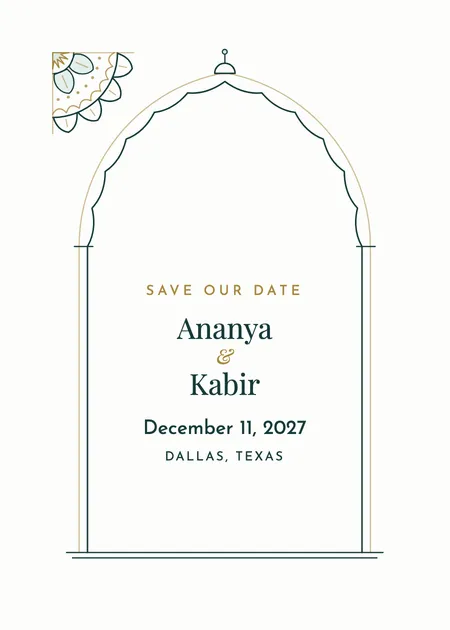
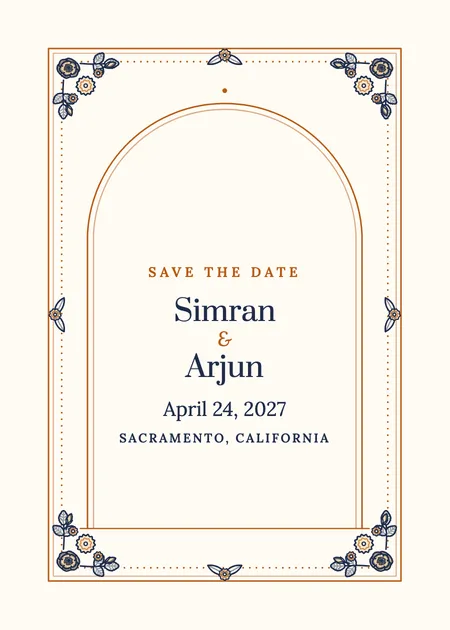
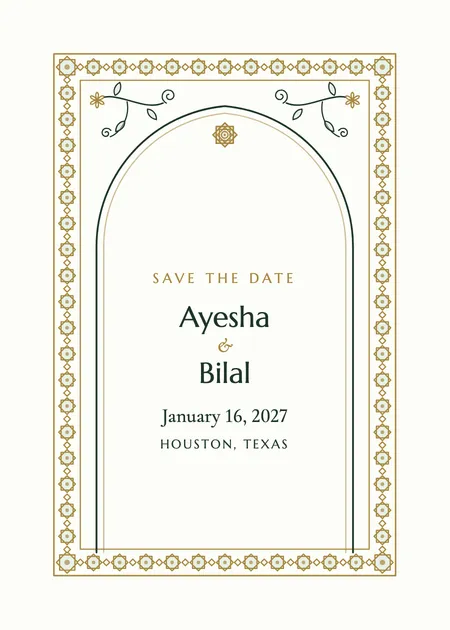
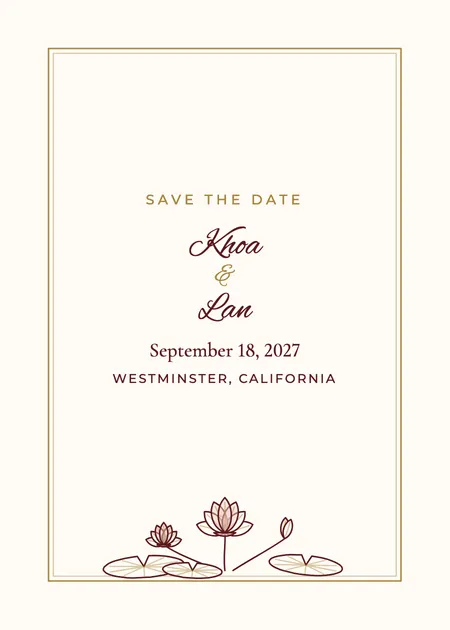
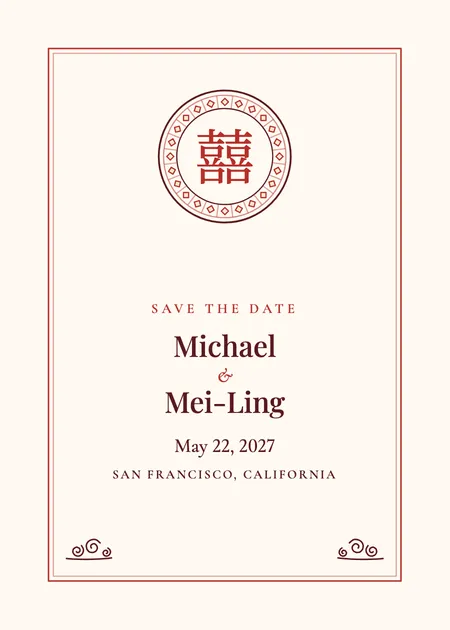
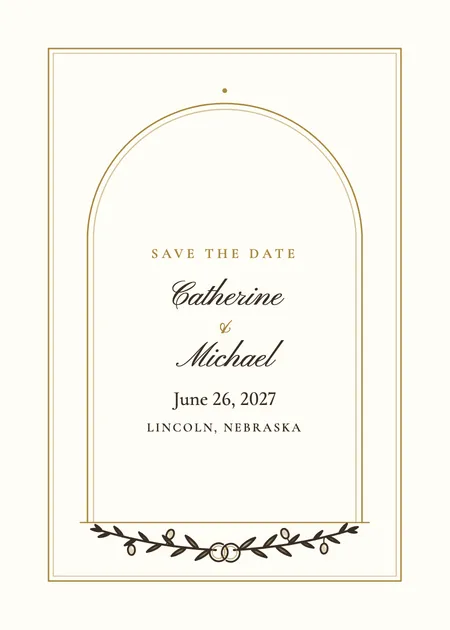
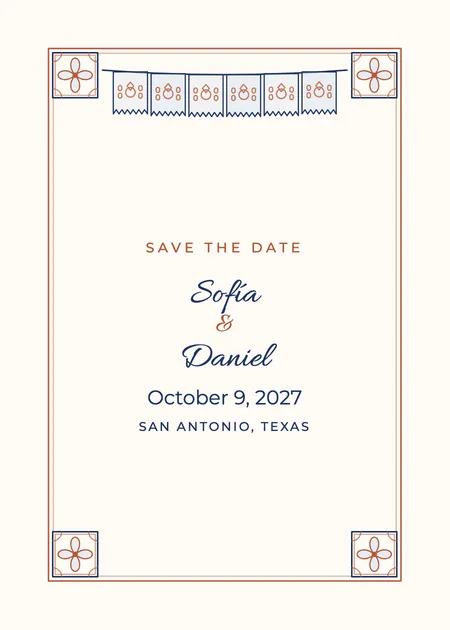
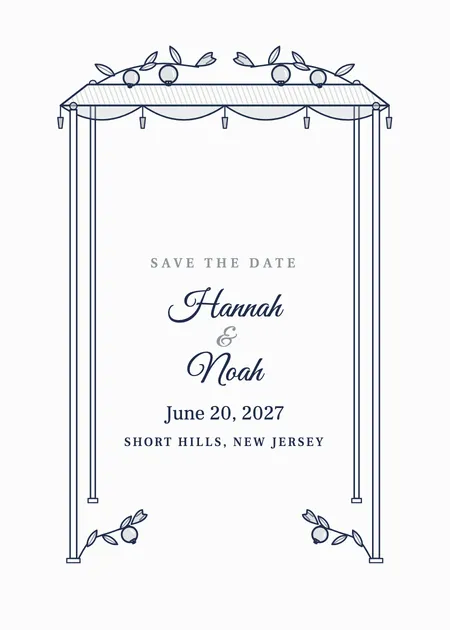
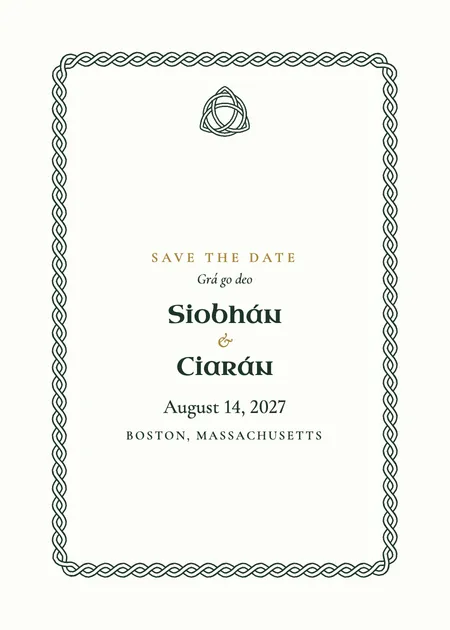
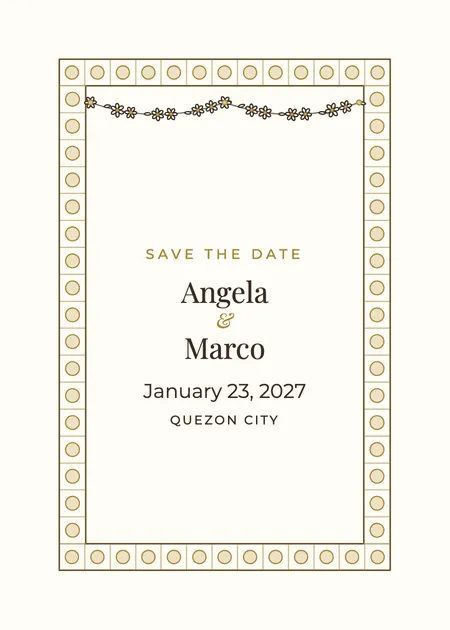
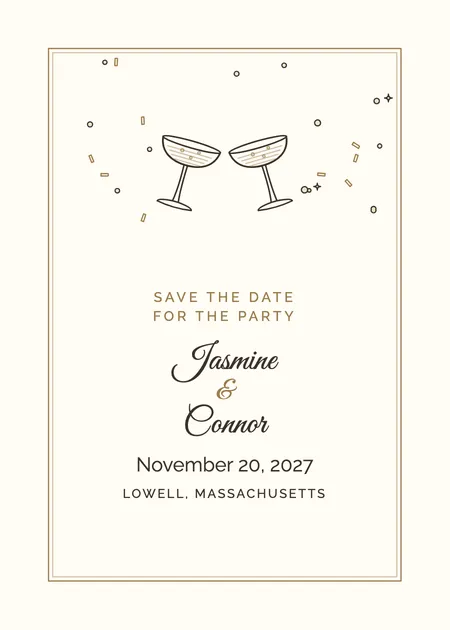

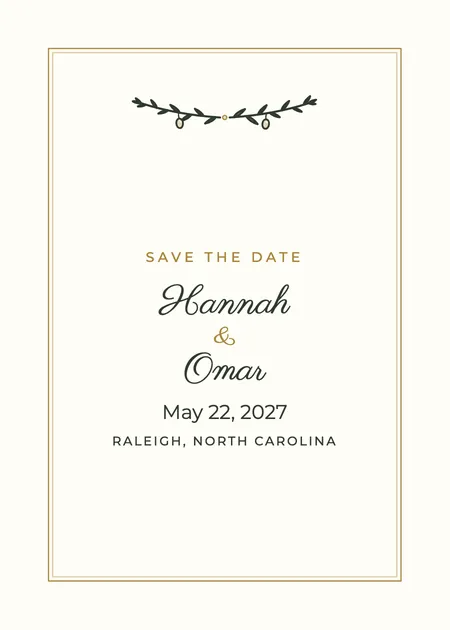
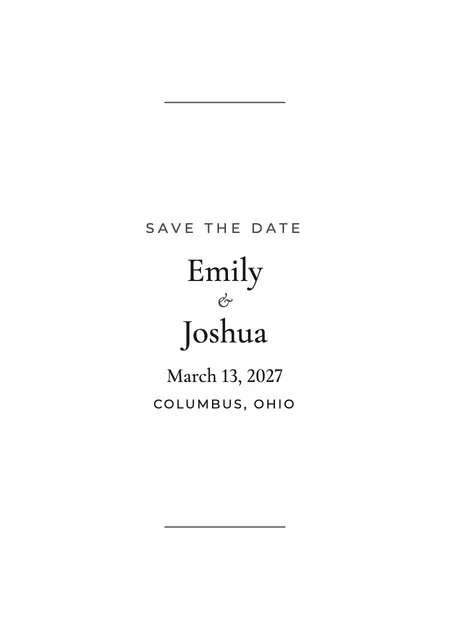
Save the date, formal
Please save the date
for the wedding of
Charlotte Ainsley
and
Andre Toussaint
June 5, 2027
New Orleans, Louisiana
Invitation to follow



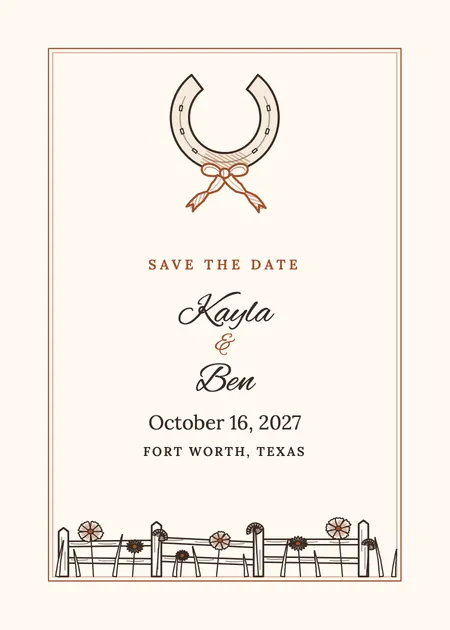
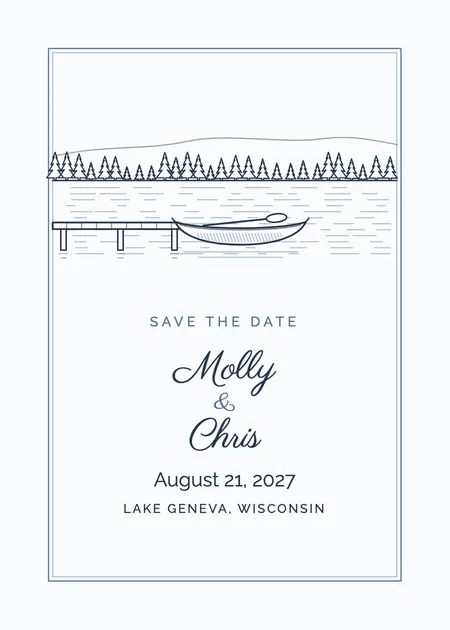
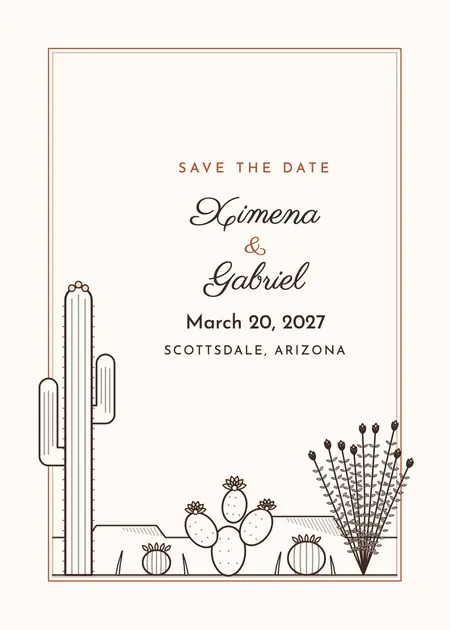
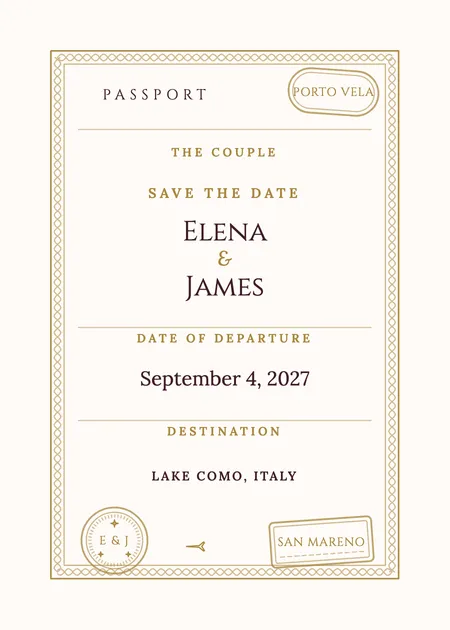
Pick one of 75 designs, type your names and date, and download it as a 5 x 7 card or a postcard that mails without an envelope. Add your wedding website and it prints as a QR code. Each one matches a full invitation suite, so the design can carry through to the invitation later.
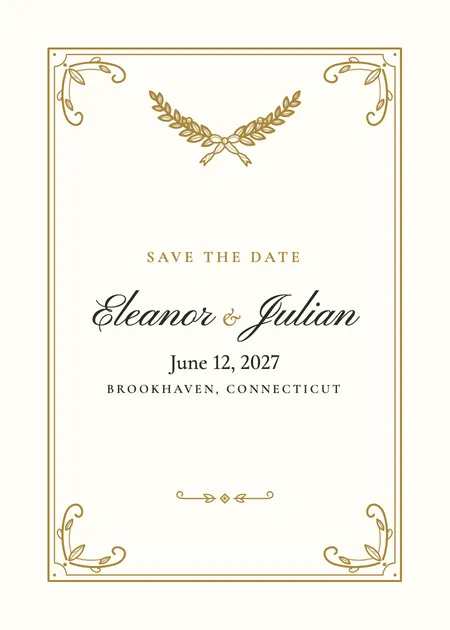
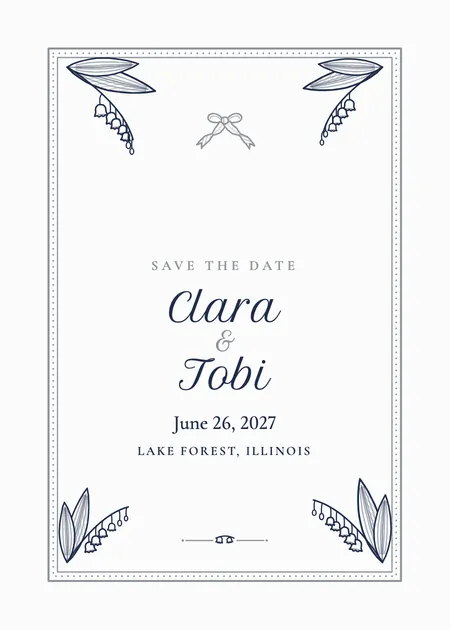
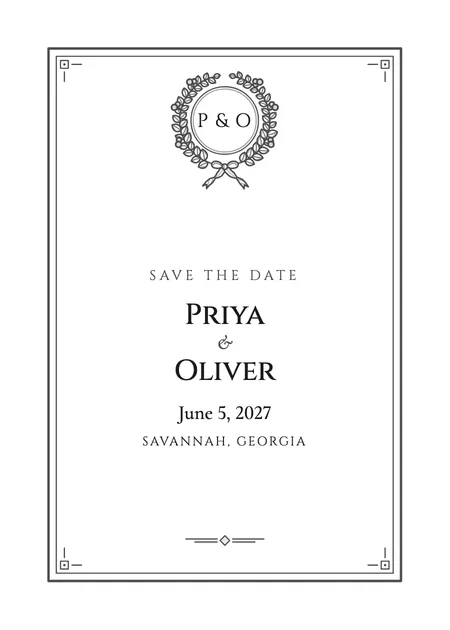
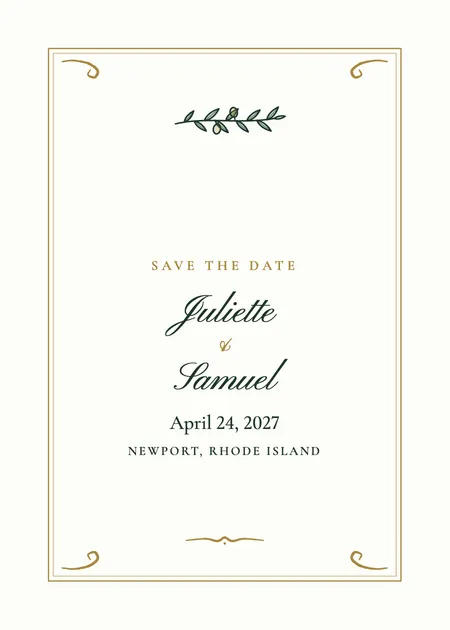
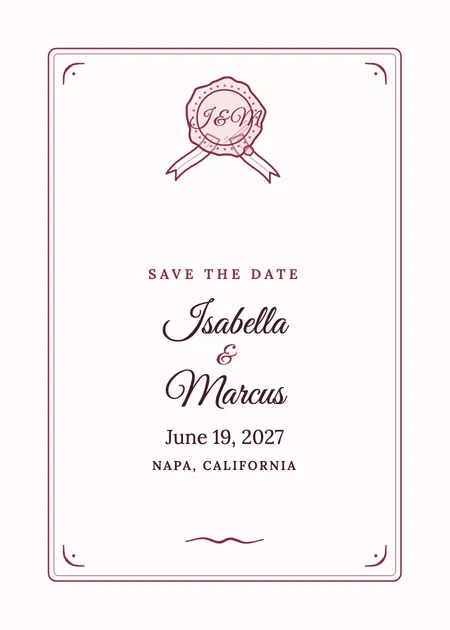
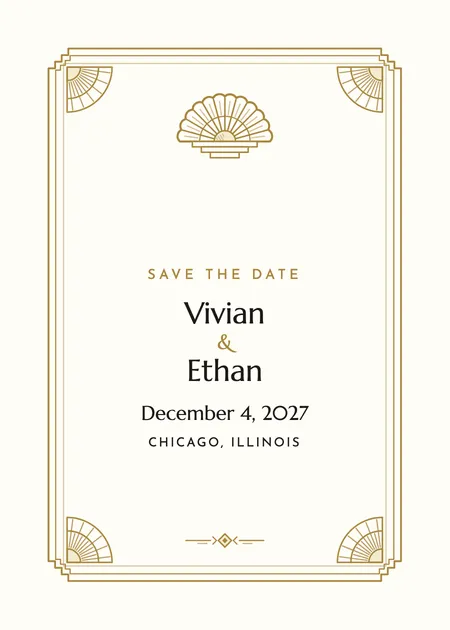
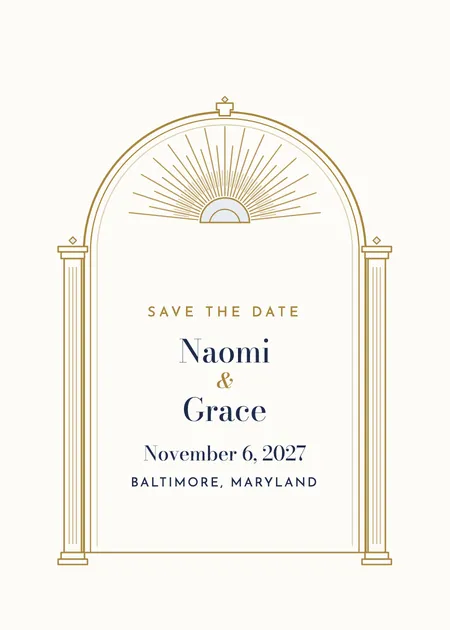
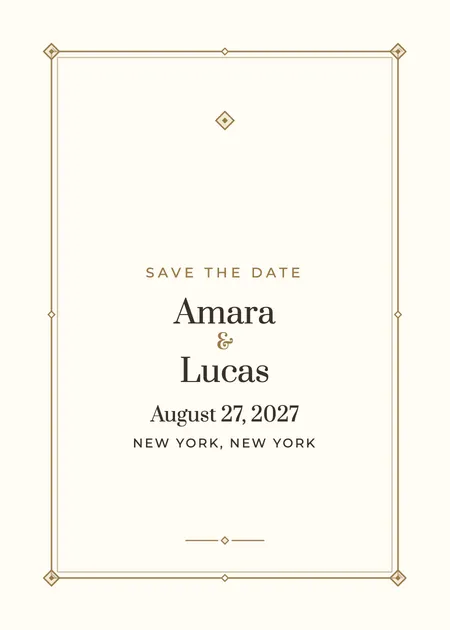
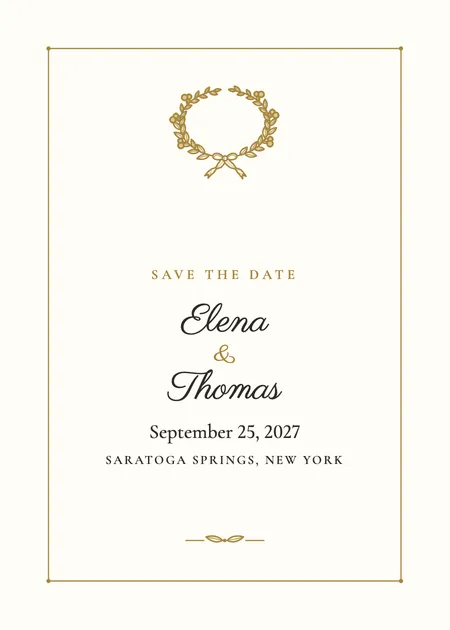
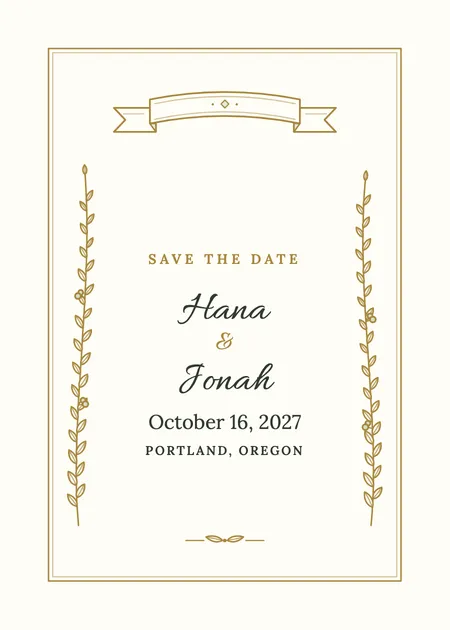
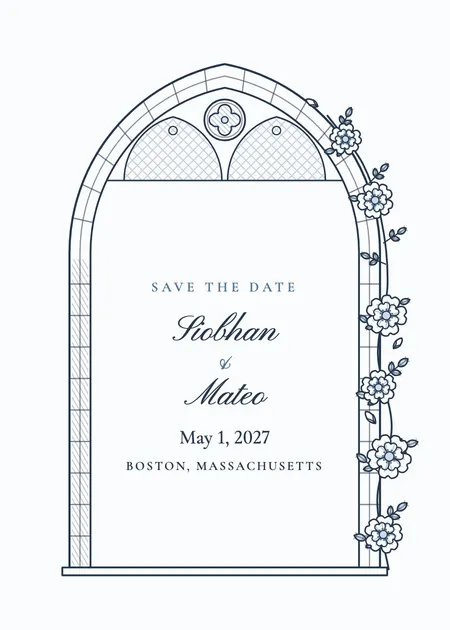
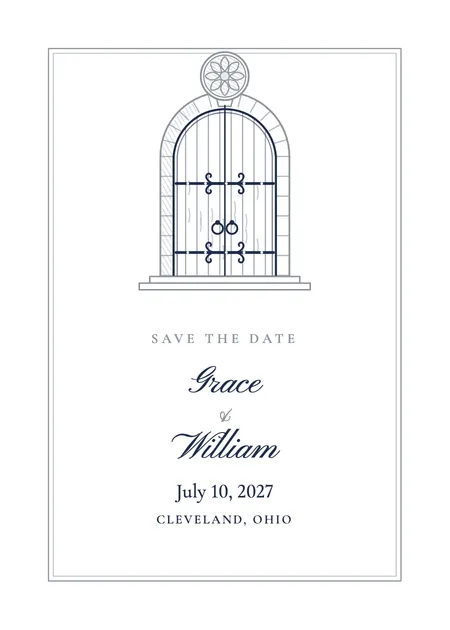
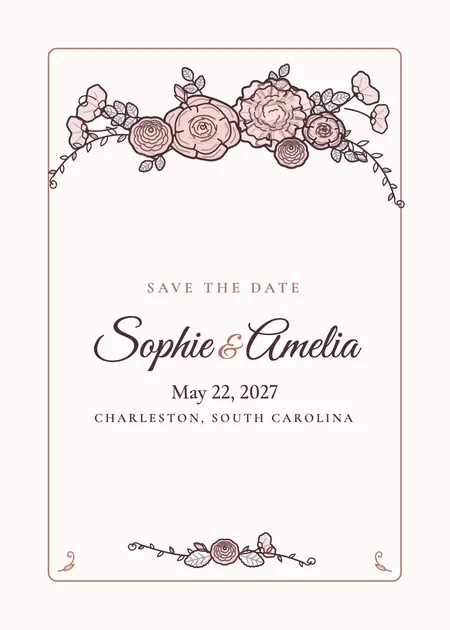
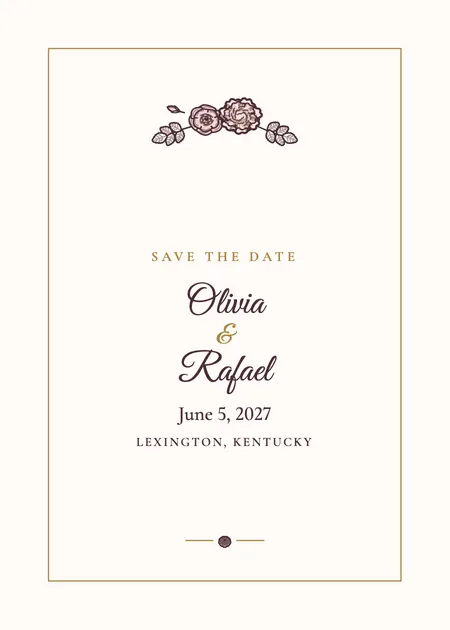
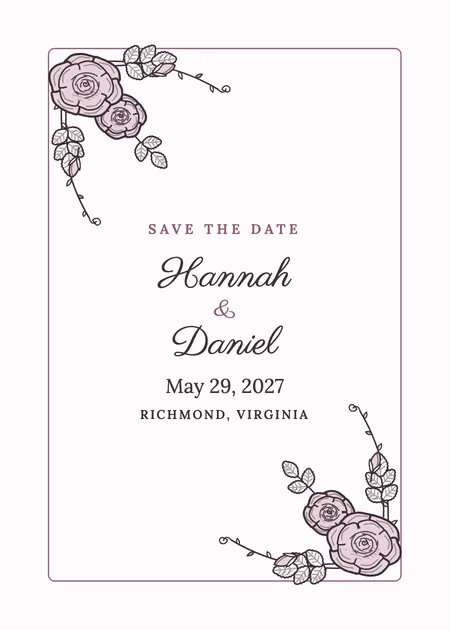
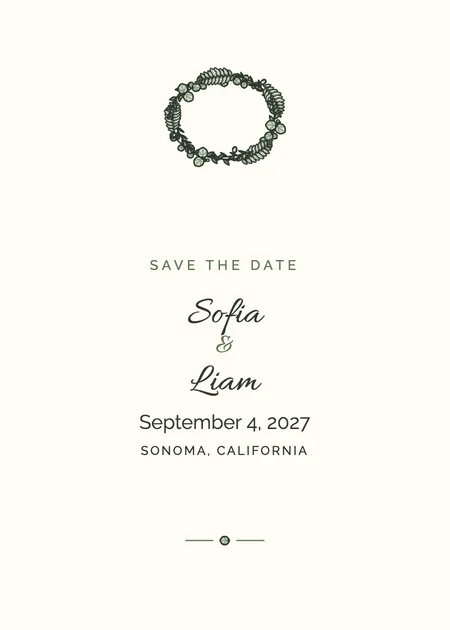
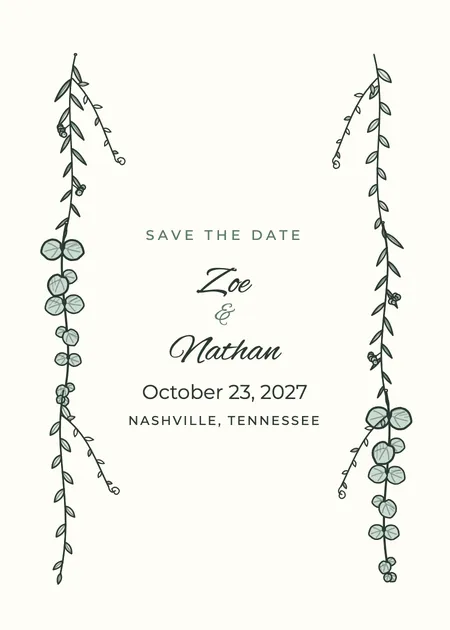
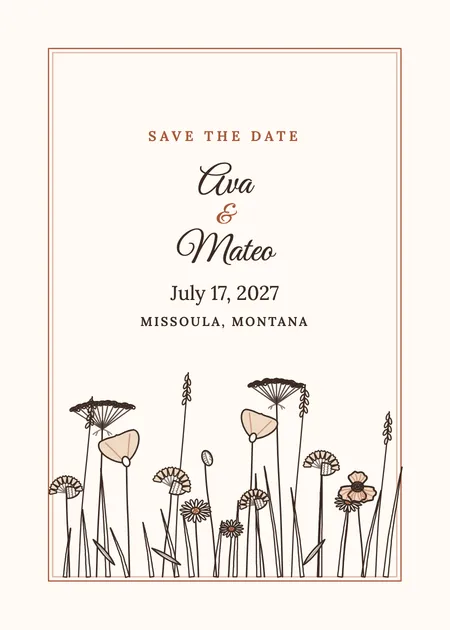
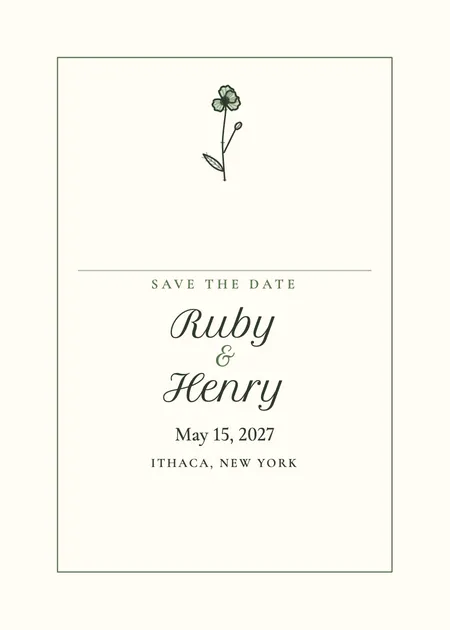
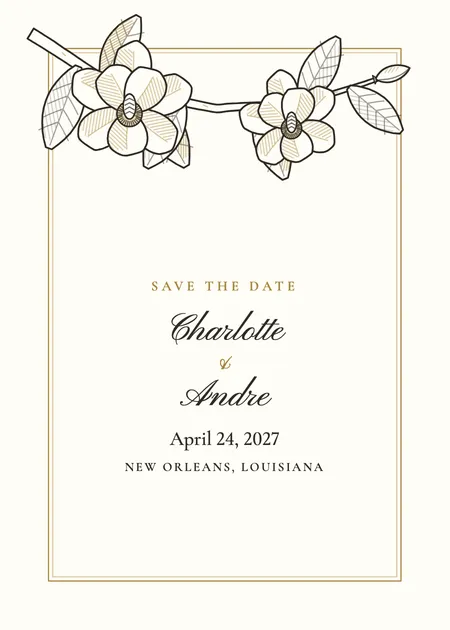
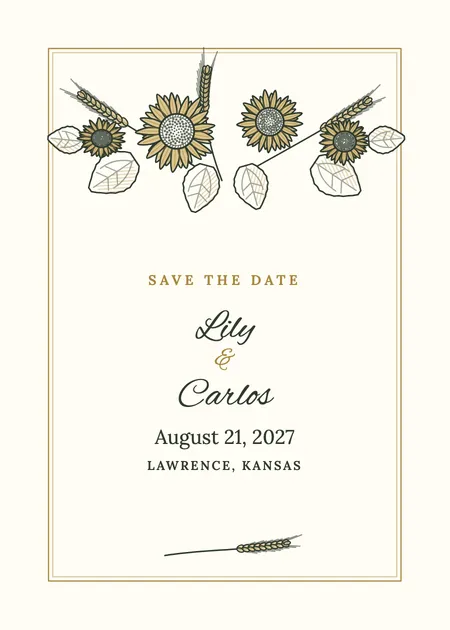
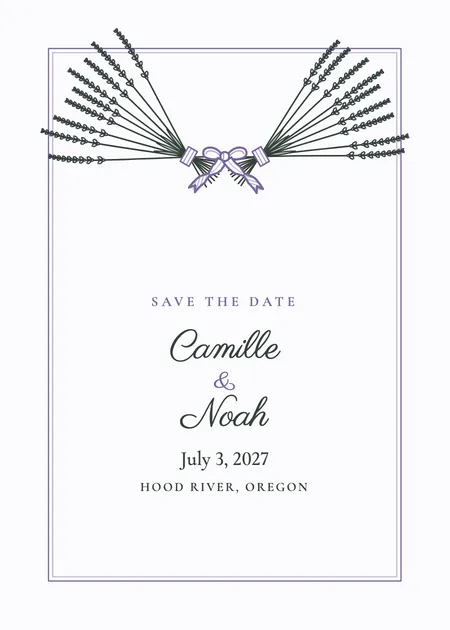
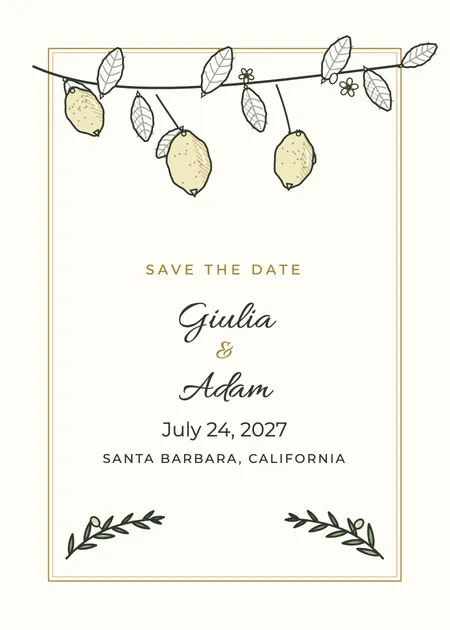
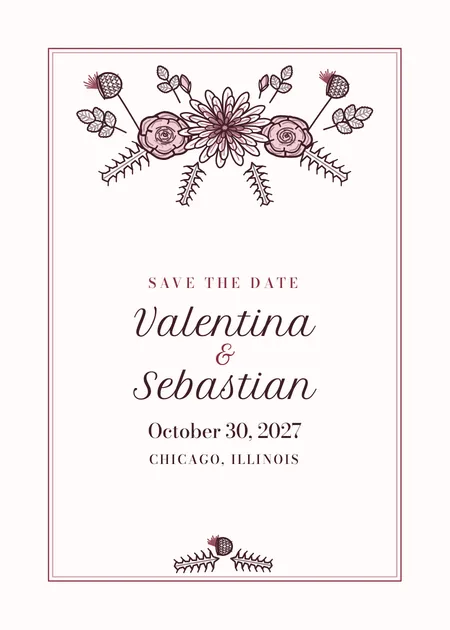
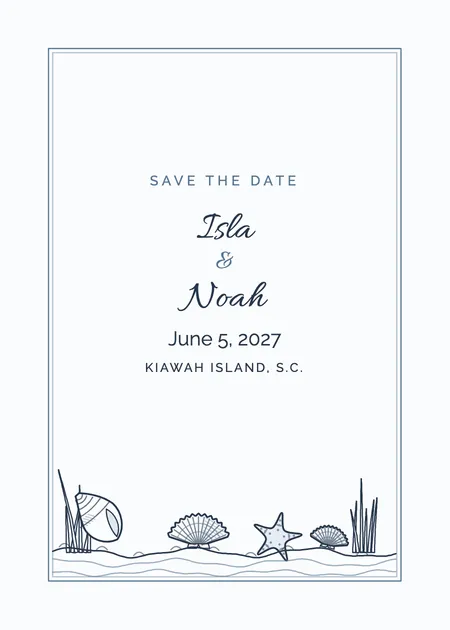
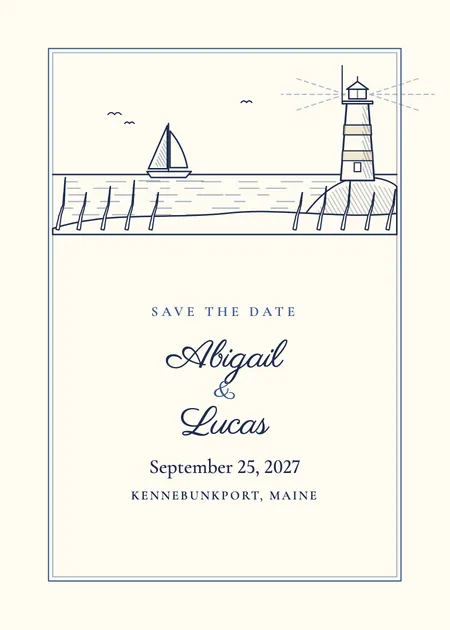
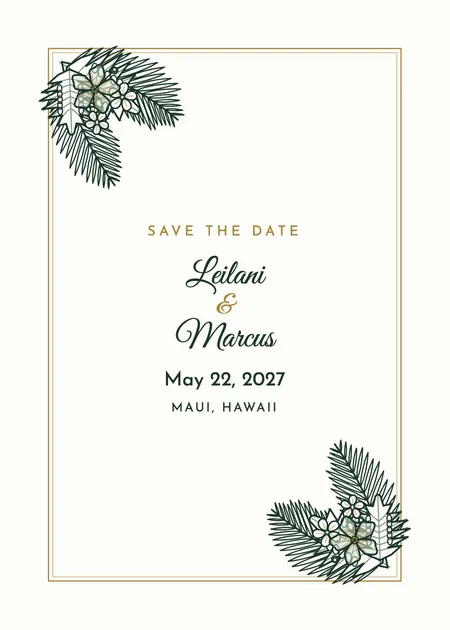
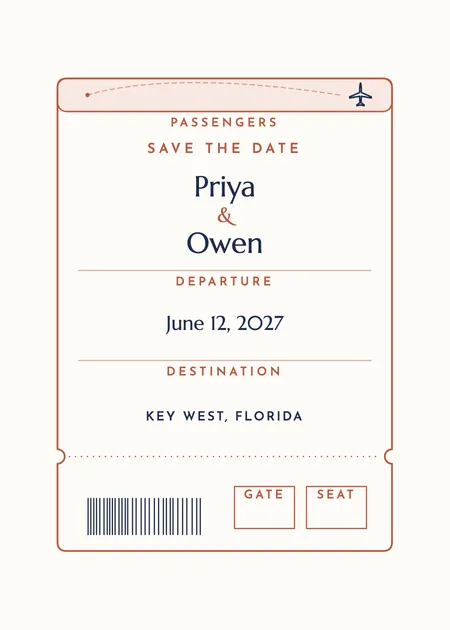
Every design comes both ways. Switch between them in the maker, on the Save the Date tab. The postcard is the cheaper one to send, and the card feels more like the invitation that follows.
| 5 x 7 card | 4.25 x 6 postcard | |
|---|---|---|
| Envelope | A7 (5.25 x 7.25), which you buy and address | None. Write or stick the address on the back |
| Postage | A regular letter stamp | A postcard stamp ($0.65 as of October 2026) |
| The back | “Formal invitation to follow,” with room for your website’s QR code | Stamp box, four address lines, your return address, the same line and the QR code |
| Per Letter or A4 sheet | 2 | 2 |
| Best for | A formal wedding, or matching the invitation | A long guest list, or keeping costs down |
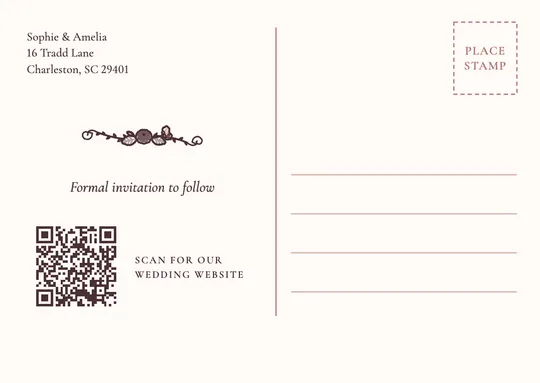
Postcard rules worth knowing. To go at the postcard price, a card has to be at least 3.5 x 5 inches and no more than 4.25 x 6, between 0.007 and 0.016 inch thick, with the address running along the long side. That’s why our address side is turned sideways from the front. Most 80 to 110 lb cover stock falls within that thickness, though it varies by brand, so take one to the post office before you print the whole stack. The bottom five-eighths of an inch of the address side stays clear for the barcode the Postal Service prints.
Open the maker on the postcard · how to word the address, with printable address labels
Both names, the date, the city and the words "invitation to follow." That's all a save the date has to say. The venue and the time can wait for the invitation, and leaving them out means there's less to correct if plans shift.
Every line can be edited in the maker. More examples, for every host and occasion, are in the wedding invitation wording guide.
Six to eight months before the wedding is the usual window, and eight to twelve for a destination wedding or a guest list that will mostly fly in. The wedding timeline calculator works out the mailing date from your wedding date, along with the invitation and RSVP dates, and it can send that date straight into the maker.
Collect addresses first. A card that comes back undelivered tells you which address to fix before the invitations go out, which is one more reason to send them.
Choose PNG · text or email on the download step and you’ll get a picture of the front of your card, sized for a phone. Text it to a group, attach it to an email, or post it. It’s a picture and not a formatted email, so it looks the same wherever it lands, and you can put your website in the message beside it.
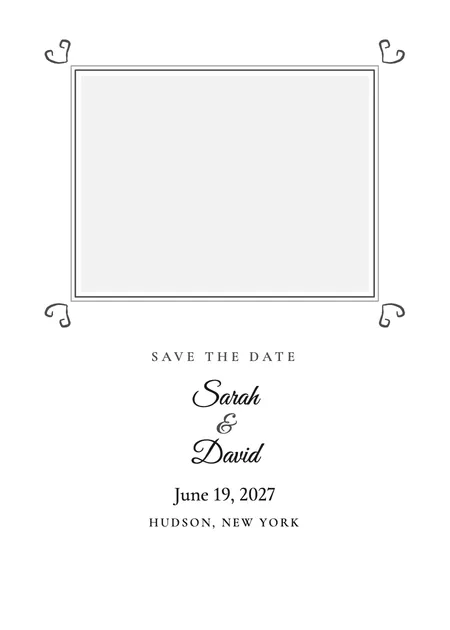
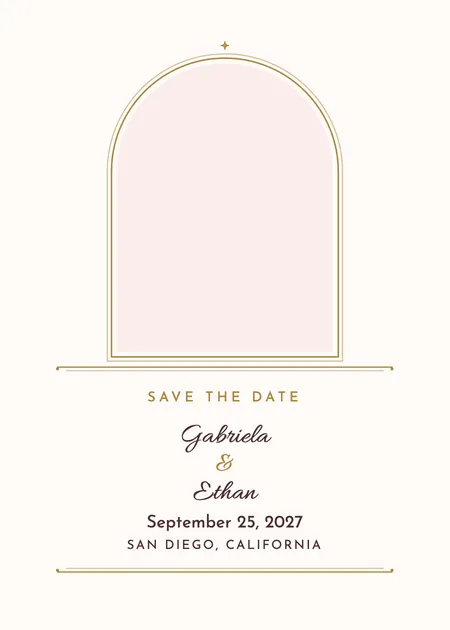
Plenty of couples do both, mailing cards to grandparents and anyone who’d put one on the fridge, and texting the rest. A design with a photo window takes your engagement picture: drop it in the maker and drag it into place.
For a print shop, choose PNG · print shop, which includes an eighth-inch bleed. A Word file of the same sheets is there too, if that’s easier to print from. It holds the finished cards as pictures, so make any changes in the maker first. Printing on colored card stock? On designs with a tinted background, the maker can leave the background color off.